Sunday, August 9, 2009

Add Border using Photoshop CS2

There are few more important things other than taking photographs. One of the main thing that will come to your mind is how to add border to the photographs. There are few utilities which will do this job for you, but you won't be having such customized options. In this post we will see how we can add border using Photoshop CS2.

Step 1: Open the image you want to add border

Step 2: Click Image --> Canvas Size. It will show the current image size. (Don't forget to uncheck the 'Relative' checkbox then only it will show the current image size).
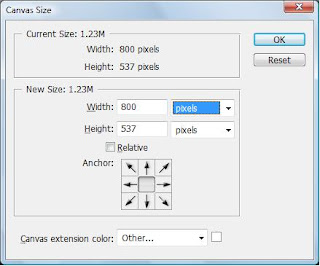


Here the image size is 800 x 537. I need a 20 pixel border and now we should add 40 pixel for height and 40 pixel for width. You can select color for the border by clicking the small rectangular box location near the 'Canvas extension color' dropdown. Now you can see a 20 pixel border is added around the image and the current dimension of the image is 840 x 577.

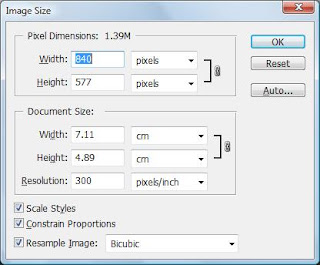
Step 3: But we don't want to disturb the image's original dimension's so we need to resize the image to 800. This can be achieved by clicking the Image --> Image Size and enter 800 in the Width text box. The image will be resized accordingly.


People who are happy with this border setup can skip the rest of the tutorial. Other people who want to make some more effect in border can proceed.

What if you want to change the border color? Follow the steps to change the border color.

Step 4: Select the image by pressing Ctrl + A. Click Edit --> Stroke. A popup window will appear. Enter the desired settings like Border, Color and the direction to paint. As we already know we have a 20 pixel border, enter 18 pixel in the width and select 'Inside' and the color 'Black'.
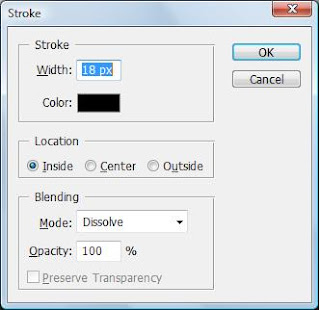


Now the image will have an 18 px border and 1 pixel while line between the image and the border, which will give you a decent look.

Wednesday, July 29, 2009

Gridlines in Photoshop CS2

Adding grid lines to a photograph makes it look more pleasing at times. I have tried my hand in couple of pictures.

I will post the steps to add gridlines in Photoshop shortly, till then enjoy the pictures.


Friday, June 26, 2009

Add simple border to your photographs using Irfan View

To add simple border to your photographs using Irfan View follow the steps below.

The border option in Irfan View is little hidden.

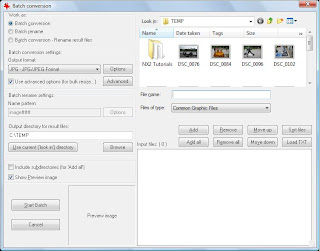
Step 1: Open Irfan View and Click on File --> Batch Conversion/Rename option or shortcut key 'b'. This will open 'Batch Conversion' form as shown below.


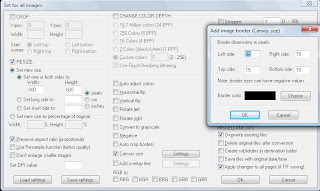
Step 2: Check the 'Canvas Size' option which is in the middle column and click on settings. This will open a new dialog as shown below.


Enter the desired border thickness and choose the color for your border and then click OK.


Step 3: Now click on 'Start Batch' and the images with border will be saved on the folder mentioned in 'Output directory for result files'.

Wednesday, June 24, 2009

Selective Coloring using Nikon Capture NX2

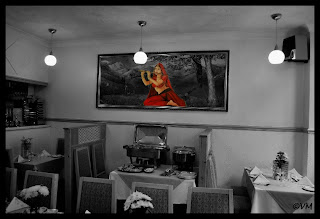
Selective coloring can be done by converting the image to Black and White and then recover the color in the area you would like.

Step 1: Open the picture you would like to apply selective coloring.


Step 2: Now from the menu select, Filter --> Black and White Conversion. This will convert the image to Black and White.


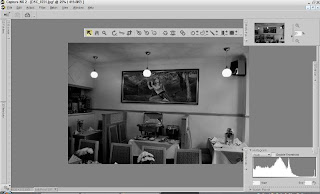
Step 3: Now select the minus brush as shown in the figure below.


The minus brush is used to recover the color from the black and white conversion. You can select the brush size according to your need.


Step 4: Now move the brush over the area where you want to recover the color.


P.S. Initially you will face problem in applying selective coloring and if you want to remove the coloring then you can use add brush to remove the recovered color.