Step 1: Open the image you want to add border
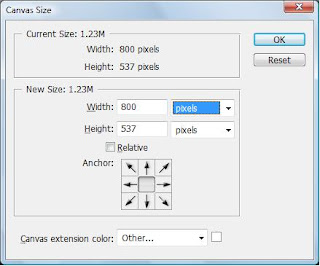
Step 2: Click Image --> Canvas Size. It will show the current image size. (Don't forget to uncheck the 'Relative' checkbox then only it will show the current image size).

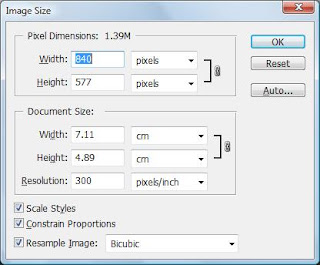
Here the image size is 800 x 537. I need a 20 pixel border and now we should add 40 pixel for height and 40 pixel for width. You can select color for the border by clicking the small rectangular box location near the 'Canvas extension color' dropdown. Now you can see a 20 pixel border is added around the image and the current dimension of the image is 840 x 577.
Step 3: But we don't want to disturb the image's original dimension's so we need to resize the image to 800. This can be achieved by clicking the Image --> Image Size and enter 800 in the Width text box. The image will be resized accordingly.

People who are happy with this border setup can skip the rest of the tutorial. Other people who want to make some more effect in border can proceed.
What if you want to change the border color? Follow the steps to change the border color.
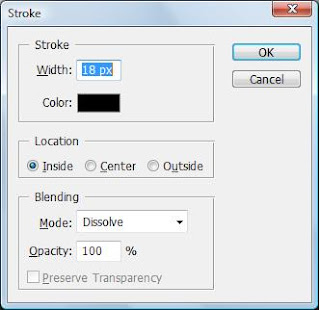
Step 4: Select the image by pressing Ctrl + A. Click Edit --> Stroke. A popup window will appear. Enter the desired settings like Border, Color and the direction to paint. As we already know we have a 20 pixel border, enter 18 pixel in the width and select 'Inside' and the color 'Black'.

Now the image will have an 18 px border and 1 pixel while line between the image and the border, which will give you a decent look.
